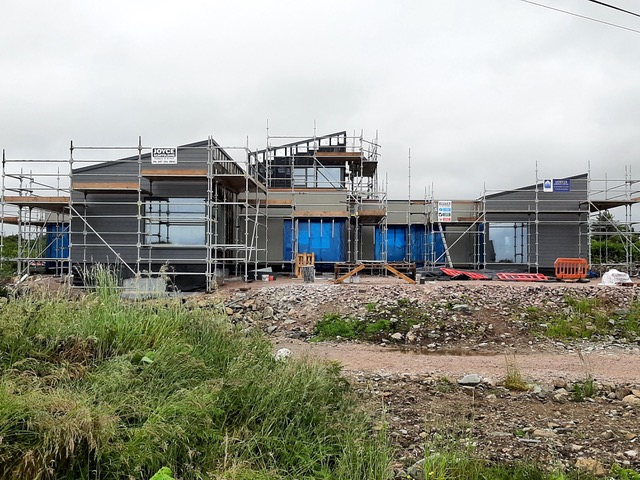
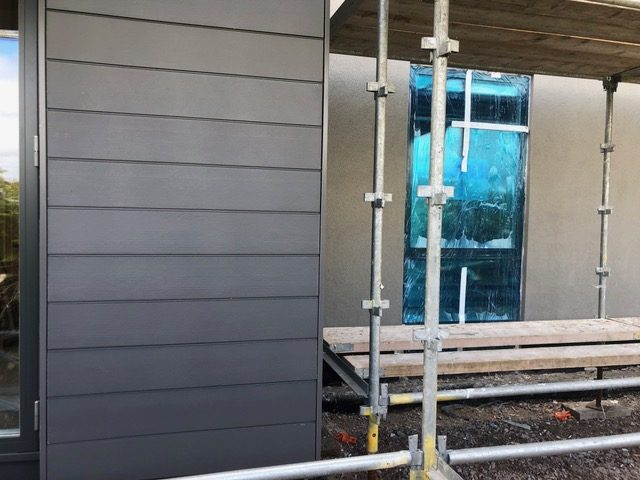
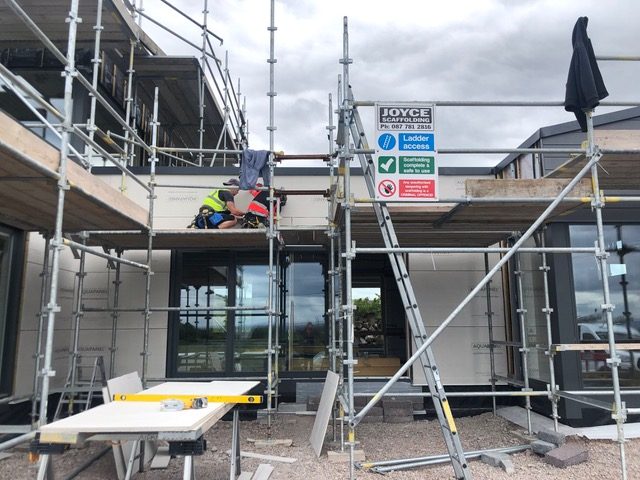
Part 1 – This post will cover the preparation for the rendered facade and Part 2 will deal with the plastering. A high level of workmanship is required for this approach. Our plasterer is Darren Walsh from Kendar Plastering. We had specified a specific cement board and Baumit silicon render system on top. Unfortunately, the aftersales service from the cement board company wasn’t great, they had a good technical department, but there were many issues with delivery and quality of some beads. It wasted time on site and our time chasing them. They would not advise on the interaction of their cement board with a different render company. In the end, I relied on the common sense and experience of our plasterer Darren, who has been very helpful though the process, and had a solution to any issues.
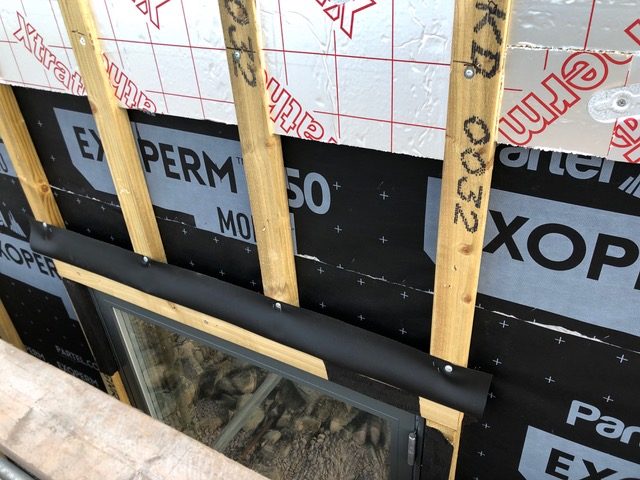
- Step 1 – Taping the windows externally with SIGA fentrim tape IS2, this provides the first weathering seal from wind and rain.
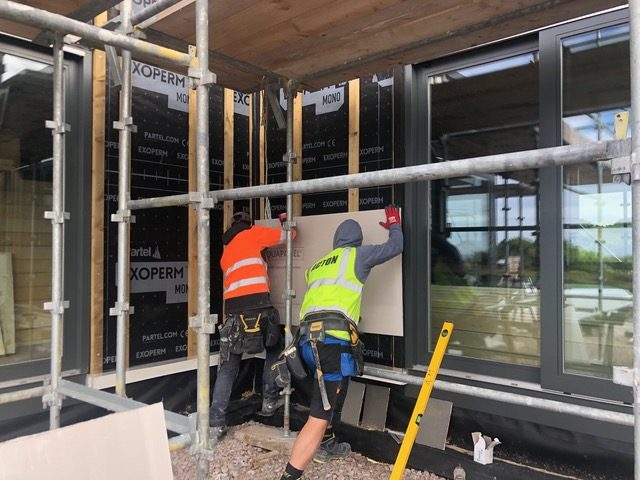
- Step 2 – Installing the treated timber battens at the required centres. The minimum depth for the battens is 30mm, we went with 45mm to maximum ventilation and increase window reveal.
- Step 3 – A DPC was fitted over each window at a slope to take away any condensation behind façade.
- Step 4 – An insect mesh was installed at the bottom and at the top of battens.
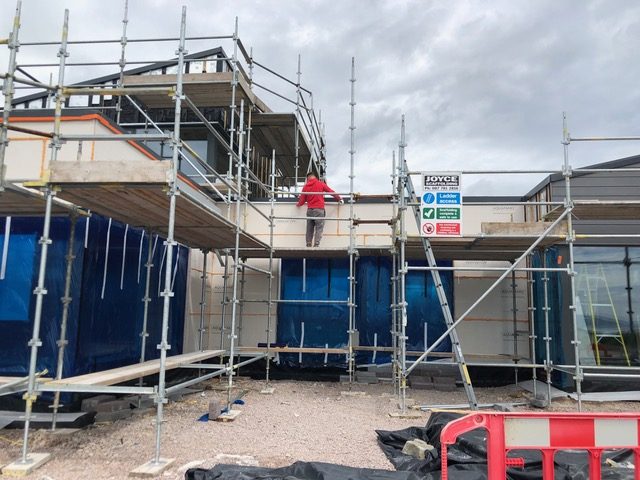
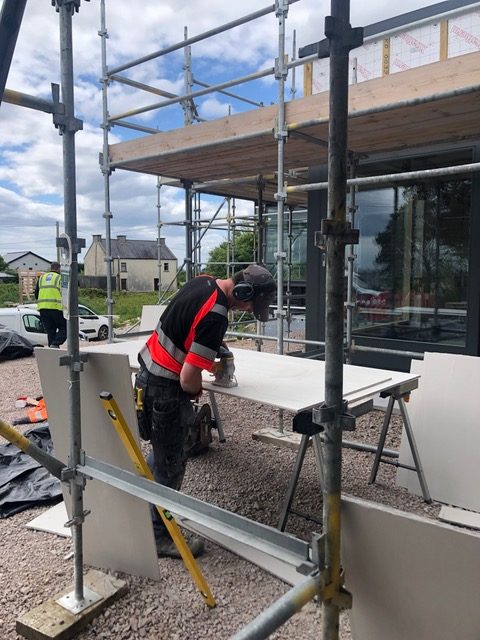
- Step 5 – The base beads were set-out and fitted, and the cement boards installed with spacing of 3mm filled with fire retardant foam.
An issue that arose during this process was the position of the batten next to the window, I had underestimated the build-up of cement board, basecoat, mesh and top coat. We ended up moving the battens to allow for this, but we were able to do this quickly as our carpenters were still on site. Sometimes I feel as a woman architect and self-builder, I need to be able to foresee every detail. But it was reassuring to hear from the carpenter that these issues happen all the time. We are learning so much from the experience and it’s ok to make mistakes, construction requires constant problem-solving!

Render Part 2
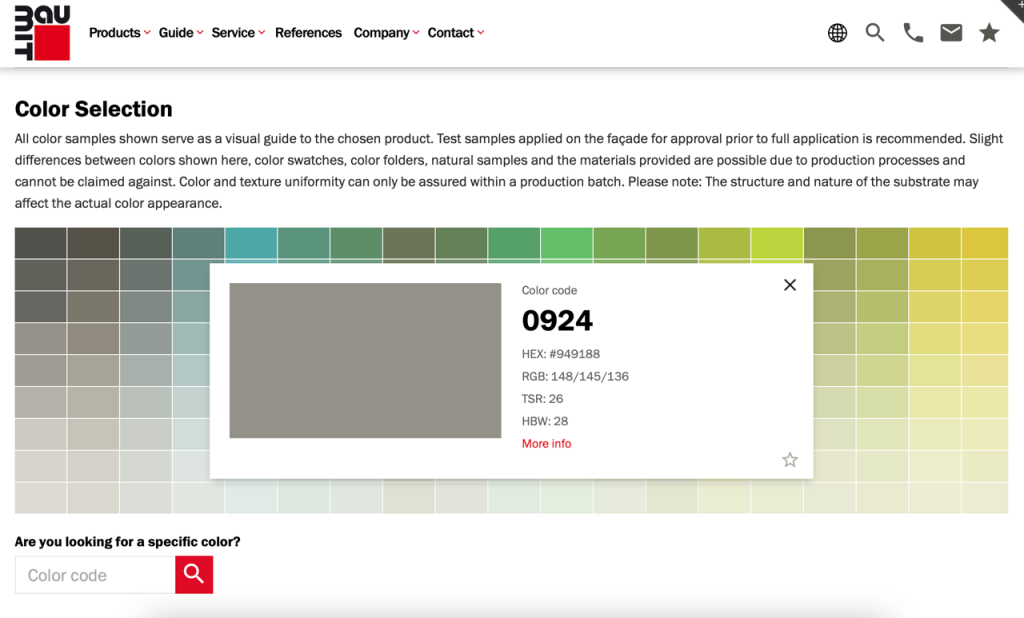
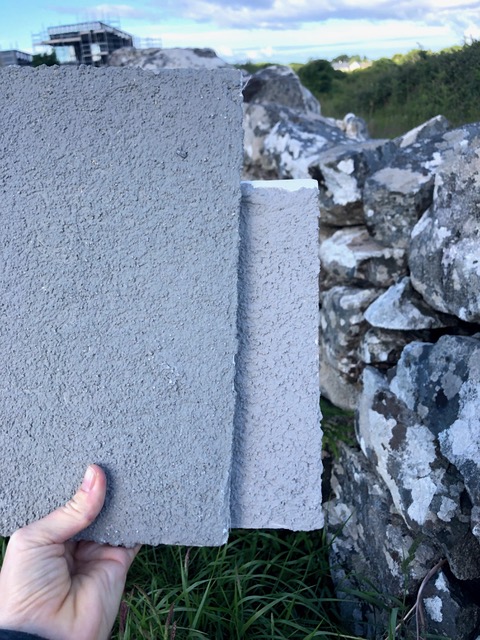
Deciding the colour of our render is a big deal, all the self-builders out there who have agonised on this decision will feel my pain. Baumit offer a fantastic range of colours in their life range, but this is the root of the problem in making a decision. The builders must have thought I lost the plot walking around the house at least 5 times, looking at the render sample from different angles and against the backdrop of the various rocks and plants. I don’t know if this is a tried and tested method, but it felt right for me.
The Baumit silicon render needs dry conditions for application, no bother at summer time you would think, well not so during a Irish summer. But fortunately, we did manage to get a window of dry weather a couple of weeks ago. Once the substate of the boards is in place the plastering can begin, just like icing a cake, right!
Step 1 – Apply the window sealing beads, this givesa sharp finish against your windows, creates another weathering seal and fixes the blue protection film to the windows
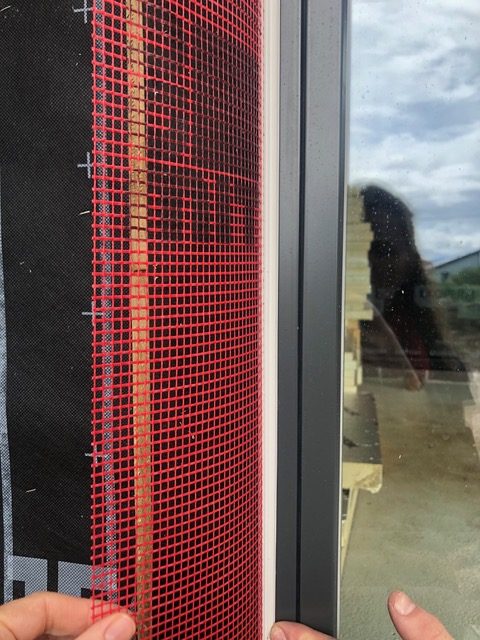
Step 2 – Apply the reinforcing beads at corners, reveals of windows and put reinforcing mesh at all window corners, these are the weak points in the system
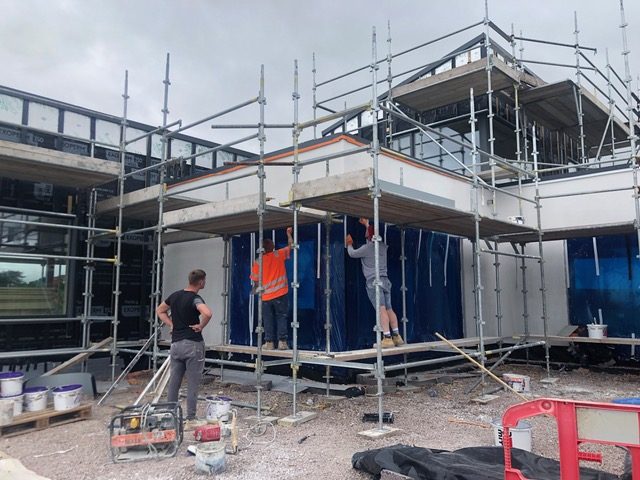
Step 3 – Apply 6mm plaster basecoat, this is used to embed the mesh to the entire surface of the wall, with each layer overlapping by 100mm (this is also when the army of plasters arrive on site, many hands are need for this process)
Step 4 – basecoat needs 24Hr to go off before topcoat can be applied (drying times can be quicker in summer, but time is required or it will bubble under topcoat)
Step 5 – Apply primer paint to dry basecoat, needs to be tinted to the same colour as render to ensure consistent topcoat colour without white specs
Step 6 – The moment of truth! The topcoat layer is applied in 1.5mm coat, this comes in premixed buckets of render, with sand mixed in to give texture.
The Result: no maintenance finish, other than some light cleaning, but no further painting is required, it is completely waterproof and does not discolour with rain. The Baumit rep Cian in Chadwicks was very helpful through the process, providing samples and giving advice.
I love the colour, it provides a subtle contrast to the darker Cedral cladding and blends really well with the rocks and surrounding green tones. Once there is a lovely garden planted in front, it will look amazing! Can’t wait to get started on that phase! But, alas I need to keep my head focused in the dusty construction for now.